Got a project completed today. I saw some inspiration on the Cricut message board of a Halloween Banner and knew I had to make one for myself. It came out so great, can't wait to make some more and possibly for other holidays as well.

For this project I used the Cricut with the Gypsy and carts: Happy Hauntings, Accent Essentials, George & Basic Shapes and Calligraphy Collection. Papers are My Mind's Eye Halloween pack: Spooked, Coordinations Black Magic Cardstock & Bazzill Bling Cardstock. Other products used are black brads, ribbon from Michaels, Threading water punch from Fiskars, Cuttlebug Swiss Dots folder, Sizzix Halloween embossing plate, and the Martha Stewart Scoreboard.

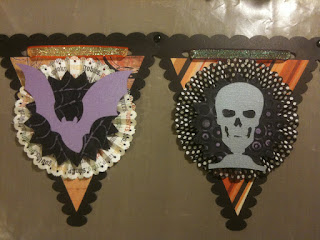
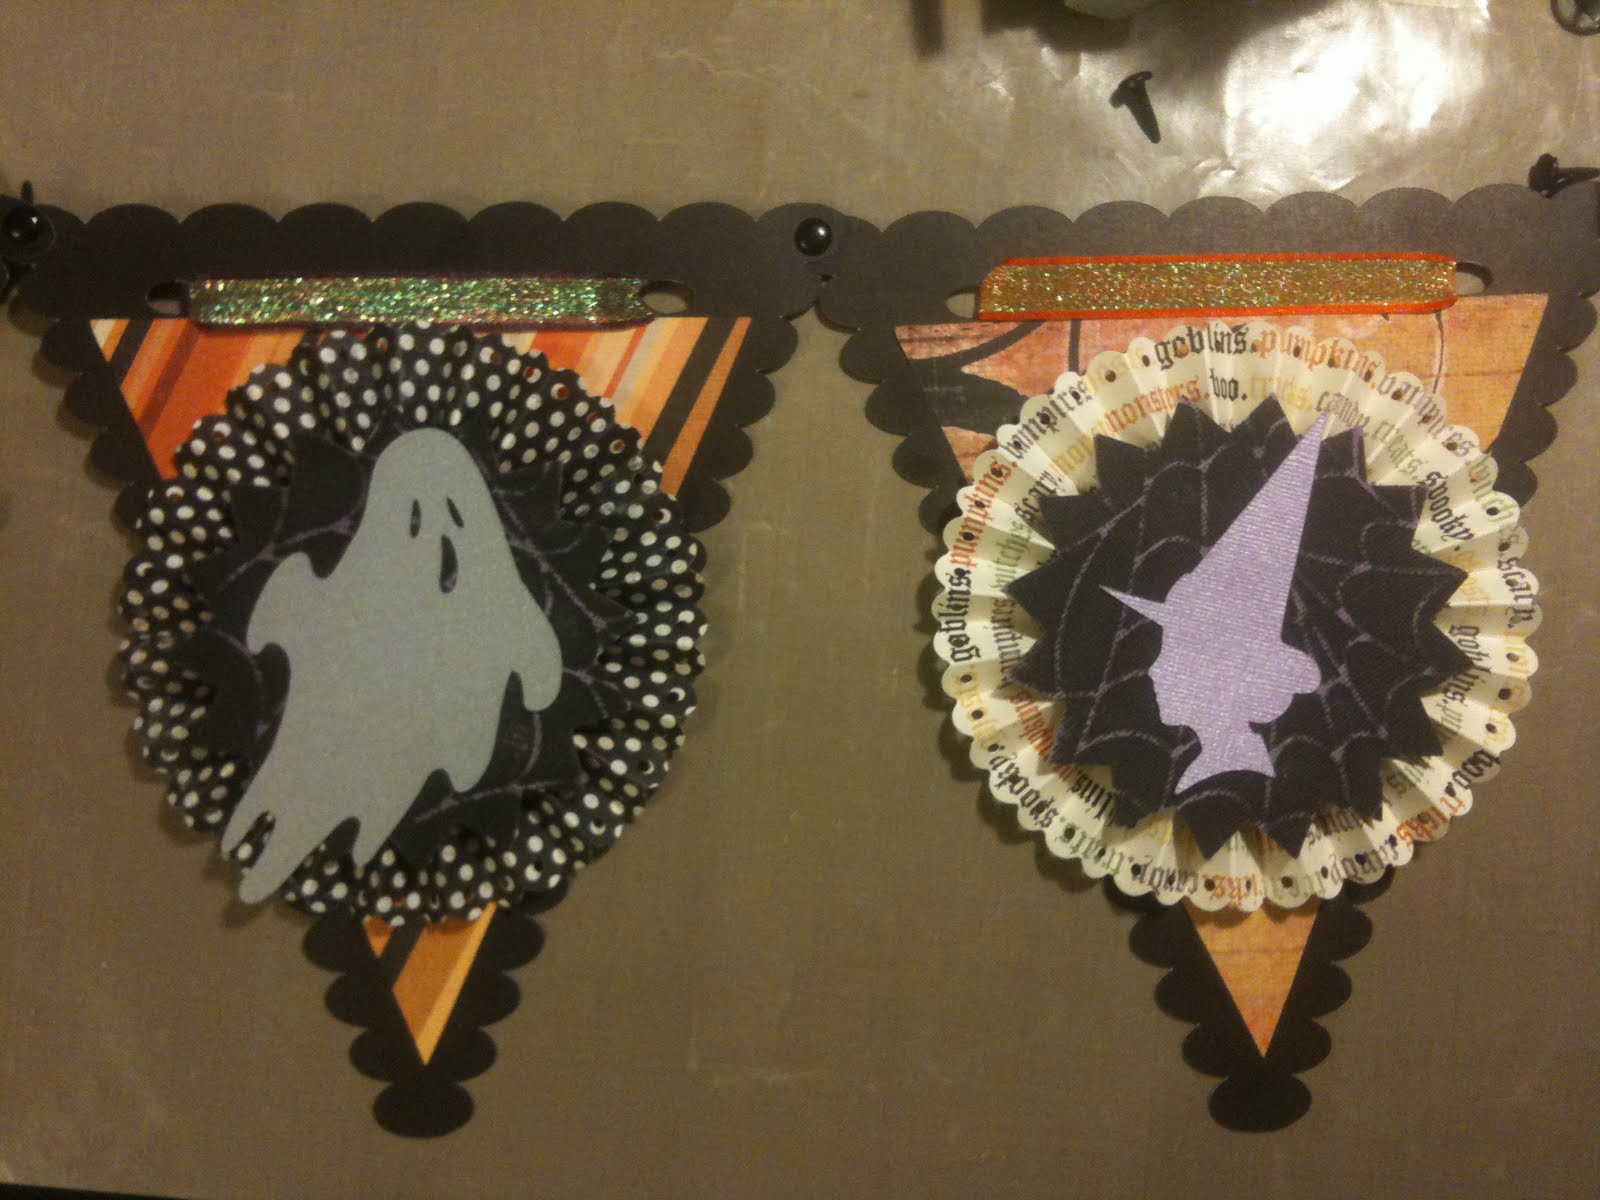
Here is an up close shot of one of the pennants. I modified the pennant found in Calligraphy Collection using the Gypsy. It was very narrow towards the end so I made the shape a little fatter. Did the same with the triangle shape to match the pennant well. Cut the silhouettes of the Halloween images from Happy Hauntings (3.5 inch) using Bazzil Bling and a shape from Accents Essentials (4 inches) using Black Magic, that the silhouettes were adhered onto. Embossed and sanded the base shape before adding the silhouettes.


This projects was really fun to make and got easier as it went along. I think you could make a really fun Halloween banner or a very elegant one. Some many options!
Thanks for looking and stopping by. Please leave a comment and follow if you like!
Here is the banner my and my friend Rosina holding up, it came out to be pretty long!

For this project I used the Cricut with the Gypsy and carts: Happy Hauntings, Accent Essentials, George & Basic Shapes and Calligraphy Collection. Papers are My Mind's Eye Halloween pack: Spooked, Coordinations Black Magic Cardstock & Bazzill Bling Cardstock. Other products used are black brads, ribbon from Michaels, Threading water punch from Fiskars, Cuttlebug Swiss Dots folder, Sizzix Halloween embossing plate, and the Martha Stewart Scoreboard.

Here is an up close shot of one of the pennants. I modified the pennant found in Calligraphy Collection using the Gypsy. It was very narrow towards the end so I made the shape a little fatter. Did the same with the triangle shape to match the pennant well. Cut the silhouettes of the Halloween images from Happy Hauntings (3.5 inch) using Bazzil Bling and a shape from Accents Essentials (4 inches) using Black Magic, that the silhouettes were adhered onto. Embossed and sanded the base shape before adding the silhouettes.
To make the circle paper medallions (or some call rosettes or fan-fold flowers) I used the Mind's Eyes paper. The medallions I made were 5inches wide. So through my trial and error it seems how ever wide you want the circle to be, you halve that to get the width of paper needed. So since I needed 5 inch circles, my paper used to make the medallion was cut at 2.5 inches wide. Now here where's the lengths get tricky, lol. I thought I would use 12inch in length paper. After going through the whole process (scoring and punching) it was not enough. The medallion would not lay flat, to much tension and the paper ripped. So after many attempts I have seemed to get it. For every 1/2 inch of width you need 4inches in length. So for this a total of 20 inches in length. I hope this isn't confusing. Say you wanted to make a 3inch medallion. Your paper would need to be 1.5 inches in width and 12 inches in length. Or a 6inch medallion would be 3inches in width and 24inches long.
After I got this sort of figured out. I punches the paper with the Threading Water punch. I think any scallop punch would look nice. And I scored in between the scallops. This was the most time consuming part. After all scored, I accordian folded (fan folded) and adhered them together end to end to make a big folded circle. When you press down on it, like magic it make this medallion. There are a bunch of vids on youtube about this, but will post a video if people would like to see what I did. After that adhered to a chipboard base with some glue so it wouldn't spring up.
After that I glued all the parts together. Hole punched the upper corners and attached them with brads. Added ribbons as an embellishments. Here some more pics:


This projects was really fun to make and got easier as it went along. I think you could make a really fun Halloween banner or a very elegant one. Some many options!
Thanks for looking and stopping by. Please leave a comment and follow if you like!
very cool! i just started my halloween projects--the papers this year are great!
ReplyDeleteIt looks FANGtastic!
ReplyDeleteMelissa
www.disneydreamerdesigns.blogspot.com
This is awesome. I sooooo love it.
ReplyDeleteThat is gorgeous!
ReplyDeleteLove, Luv, Luv this banner!
ReplyDelete