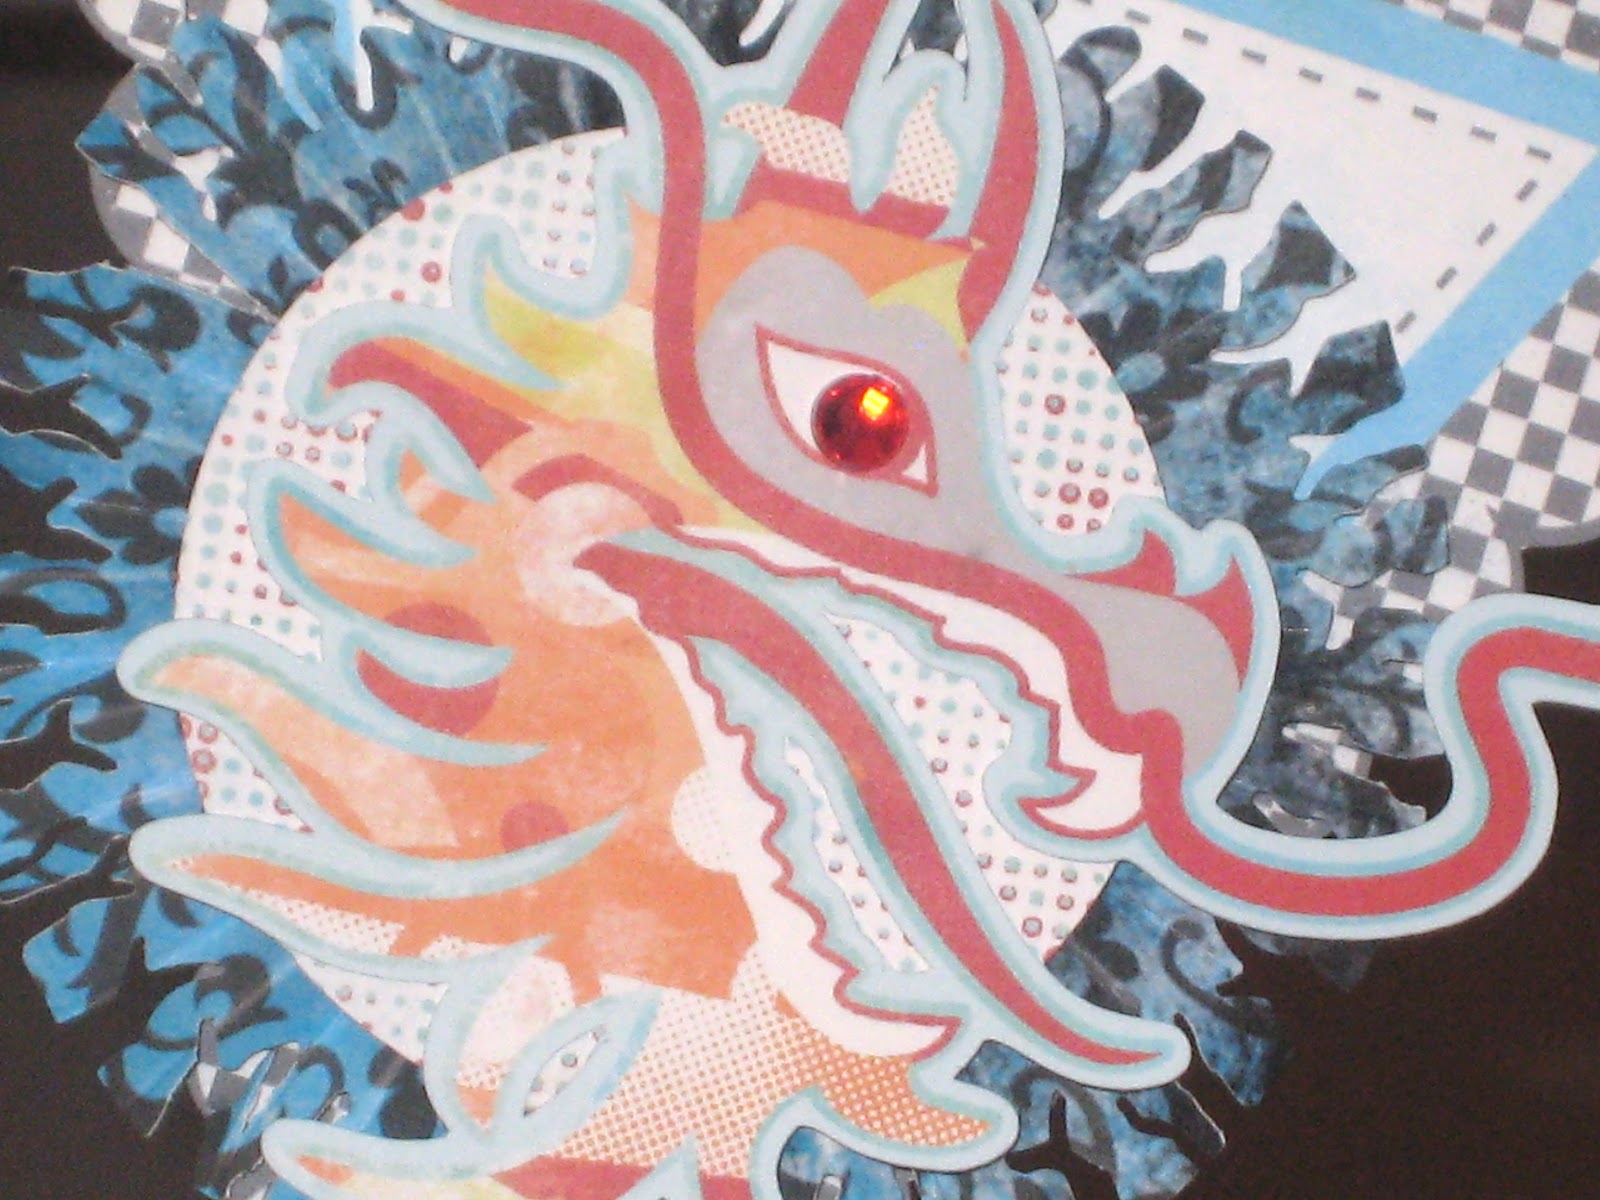
 |
| Upclose of the Dragon |
So excited about this project and really love the way it came out. This is a banner I made using the JT Art cartridge for the Cricut Imagine. This was a fun project to make and happy I got to make another banner, especially since this one will be hanging in my craft room.
 |
| The full banner, hard to get a great pic. |
I got the inspiration to make the banner for a challenge on the Cricut Circle Blog monthly challenge. This challenge was all about Celebrating Creativity. The requirements were:
•Use the Shadow Feature
•Use Patterned Paper (purchased, printed, or created with stamps, etc.)
•Use Embellishments to Enhance One of the Cuts (pearls, buttons, gems, glitter, etc.)
Here's what I used to make the banner:
JT Art Cartridge for the Cricut Imagine
Blackletter Cricut Solutions Cartridge
Martha Stewart Cracks Boarder Punch
Martha Stewart Score Board
Recollections white cardstock
Bazzill black cardstock
Post-It white craft paper
Queen & Co. Self-adhesive Rhinestones
 |
| More of a close up of hanging banner #1 |
 |
| More of a close up of hanging banner #2 |
 |
| More of a close up of hanging banner #3 |
All the papers used in this card are from the JT Art cart (minus the black shadow of the letters, its just regular black cardstock). The checkered banner shape is from the cart, as well as the lions and dragons. I used one of the patterns on the cart to color the Blackletter images. And also printed 2 full 12x12 sheets from the cart to make the paper medallions/paper rosettes. The full printing of 12x12 sheets is a new feature of the Imagine, and I have another blog post about that if you want to check out.
Here are my cut sizes:
Banner shape cut at 5.4 inches (this way 4 banners shapes per 12x12 sheet)
Lions and dragons cut at 3.5 inches.
The letters cut at 2.2 inches (shadow and regular both at 2.2)
To make the paper medallions/paper rosettes I used the paper I printed from the Imagine. The papers I used were 12inch by 1.5 inch. I boarder punched these with the Cracks punch. The paper was scored every 1/4 inch, and fan folded to make the paper medallion. I have another blog post about making these and there are tons of how-tos on the net. Because I knew I was going to make about 10 of these I scored the entire sheet of 12x12 paper first, then cut into 1.5 inch strips, and then boarder punched. This will save you a lot of time scoring all at once, instead of each strip of paper individually.
For the letters I used black cardstock for the shadow. And then for the colored letter I printed on the Post-It craft paper. This paper prints awesome in the Imagine. It saved a lot of time because the paper already has adhesive on the back that repositionable. So putting on the letters to the shadow was super quick.
Here are a bunch of pics of the project (and sorry for my messy craft room, I need to do some reorganizing soon, lol).
 |
| Individual lion banner piece |
 |
| Individual dragon banner piece |
 |
| Individual C banner piece |
 |
| Individual R banner piece |
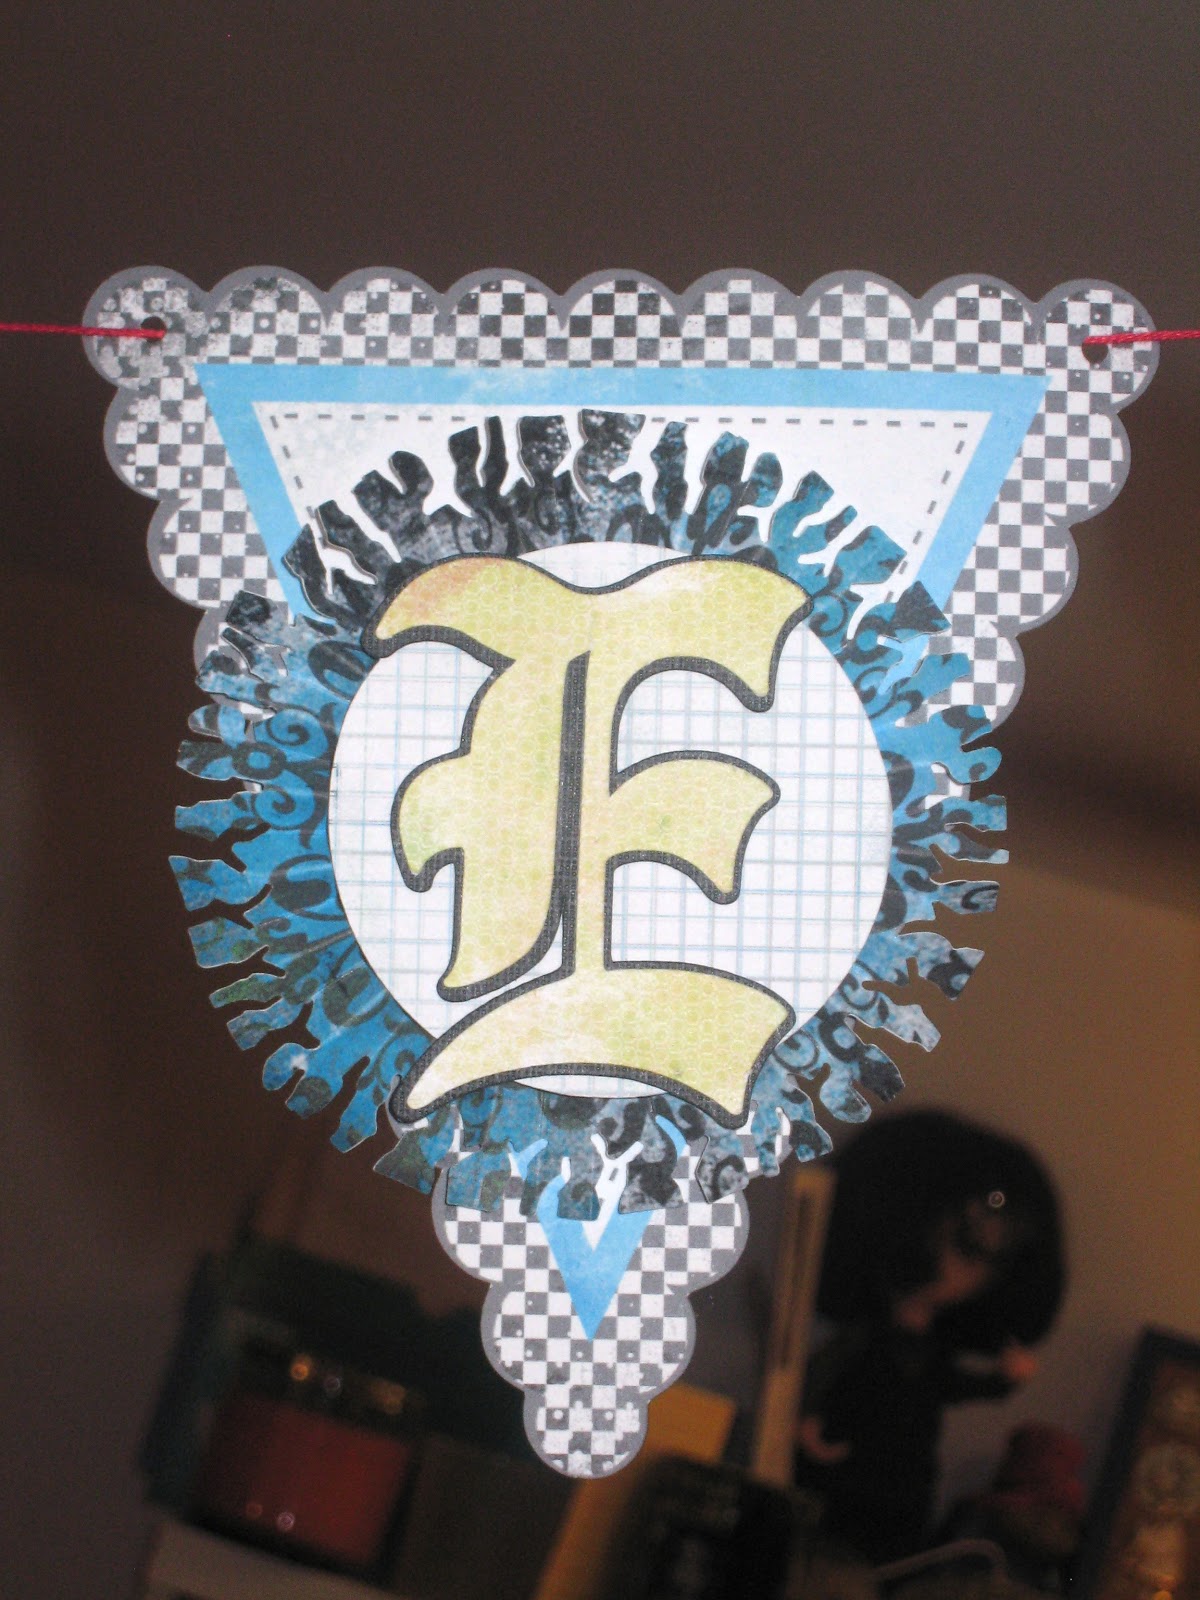
 |
| Individual E banner piece |
 |
| Individual A banner piece |
 |
| Individual T banner piece |
 |
| Individual E banner piece |
 |
| Individual dragon banner piece (used the flip feature) |
 |
Individual lion banner piece (used the flip feature) |
 |
| Upclose of lion |
Here's a couple of pics that show the dimesion of the banner pieces.


I am really loving this banner, and know it will help me stay creative. To get the banner to hang, I punched some small holes in the corner and used embroidery thread to string it. This was such a fun challenge to help me get some new creativity, and hopefully I will win, fingers crossed. They are giving away a Scrapbox, I would love it!
Also the Creative Critterz Imaginations blog is having a design team call. I am going to submit this and hopefully get chosen. It would be so cool to be on a design team! Here is their blog, its great, especially if you have an Imagine.
Thanks much for stopping by and please comment and follow if you like!
And always remember to:

As always beautiful project love your blog.
ReplyDeleteWonderful banner! Very creative, hope you win the contest.
ReplyDeleteWOW - this banner is amazing!! I love all the detail and the colors and patterns from that cartridge are great. I have it on pre-order and was having second thoughts about it but now I can't wait to get it. TFS and good luck with the DT call - this is a fantastic entry!!
ReplyDeleteanother great banner!!!
ReplyDeleteVery Cool Project....Good Luck!
ReplyDelete